
Building the Sleigh
Removing the Old Sleigh
Stage 1: We’ve removed the old sleigh off the trailer. It was well built. It took awhile to dismantle the old sleigh which had loads of screws and bolts holding it together but we managed to clear everything off the trailer to see the condition of the trailer.
Stage 2: 27/06/24 — We’ve fully serviced the trailer, removing the wheels, bearings, brakes, and hitch. All the Lights were also checked to ensure they were working and all the connections had not corroded.
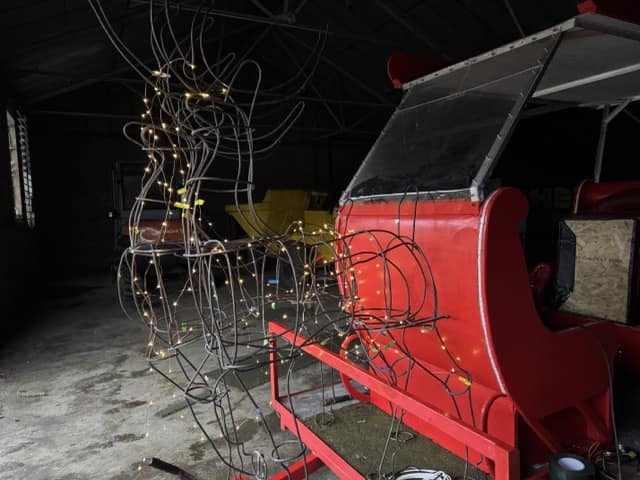
Making & Assembling
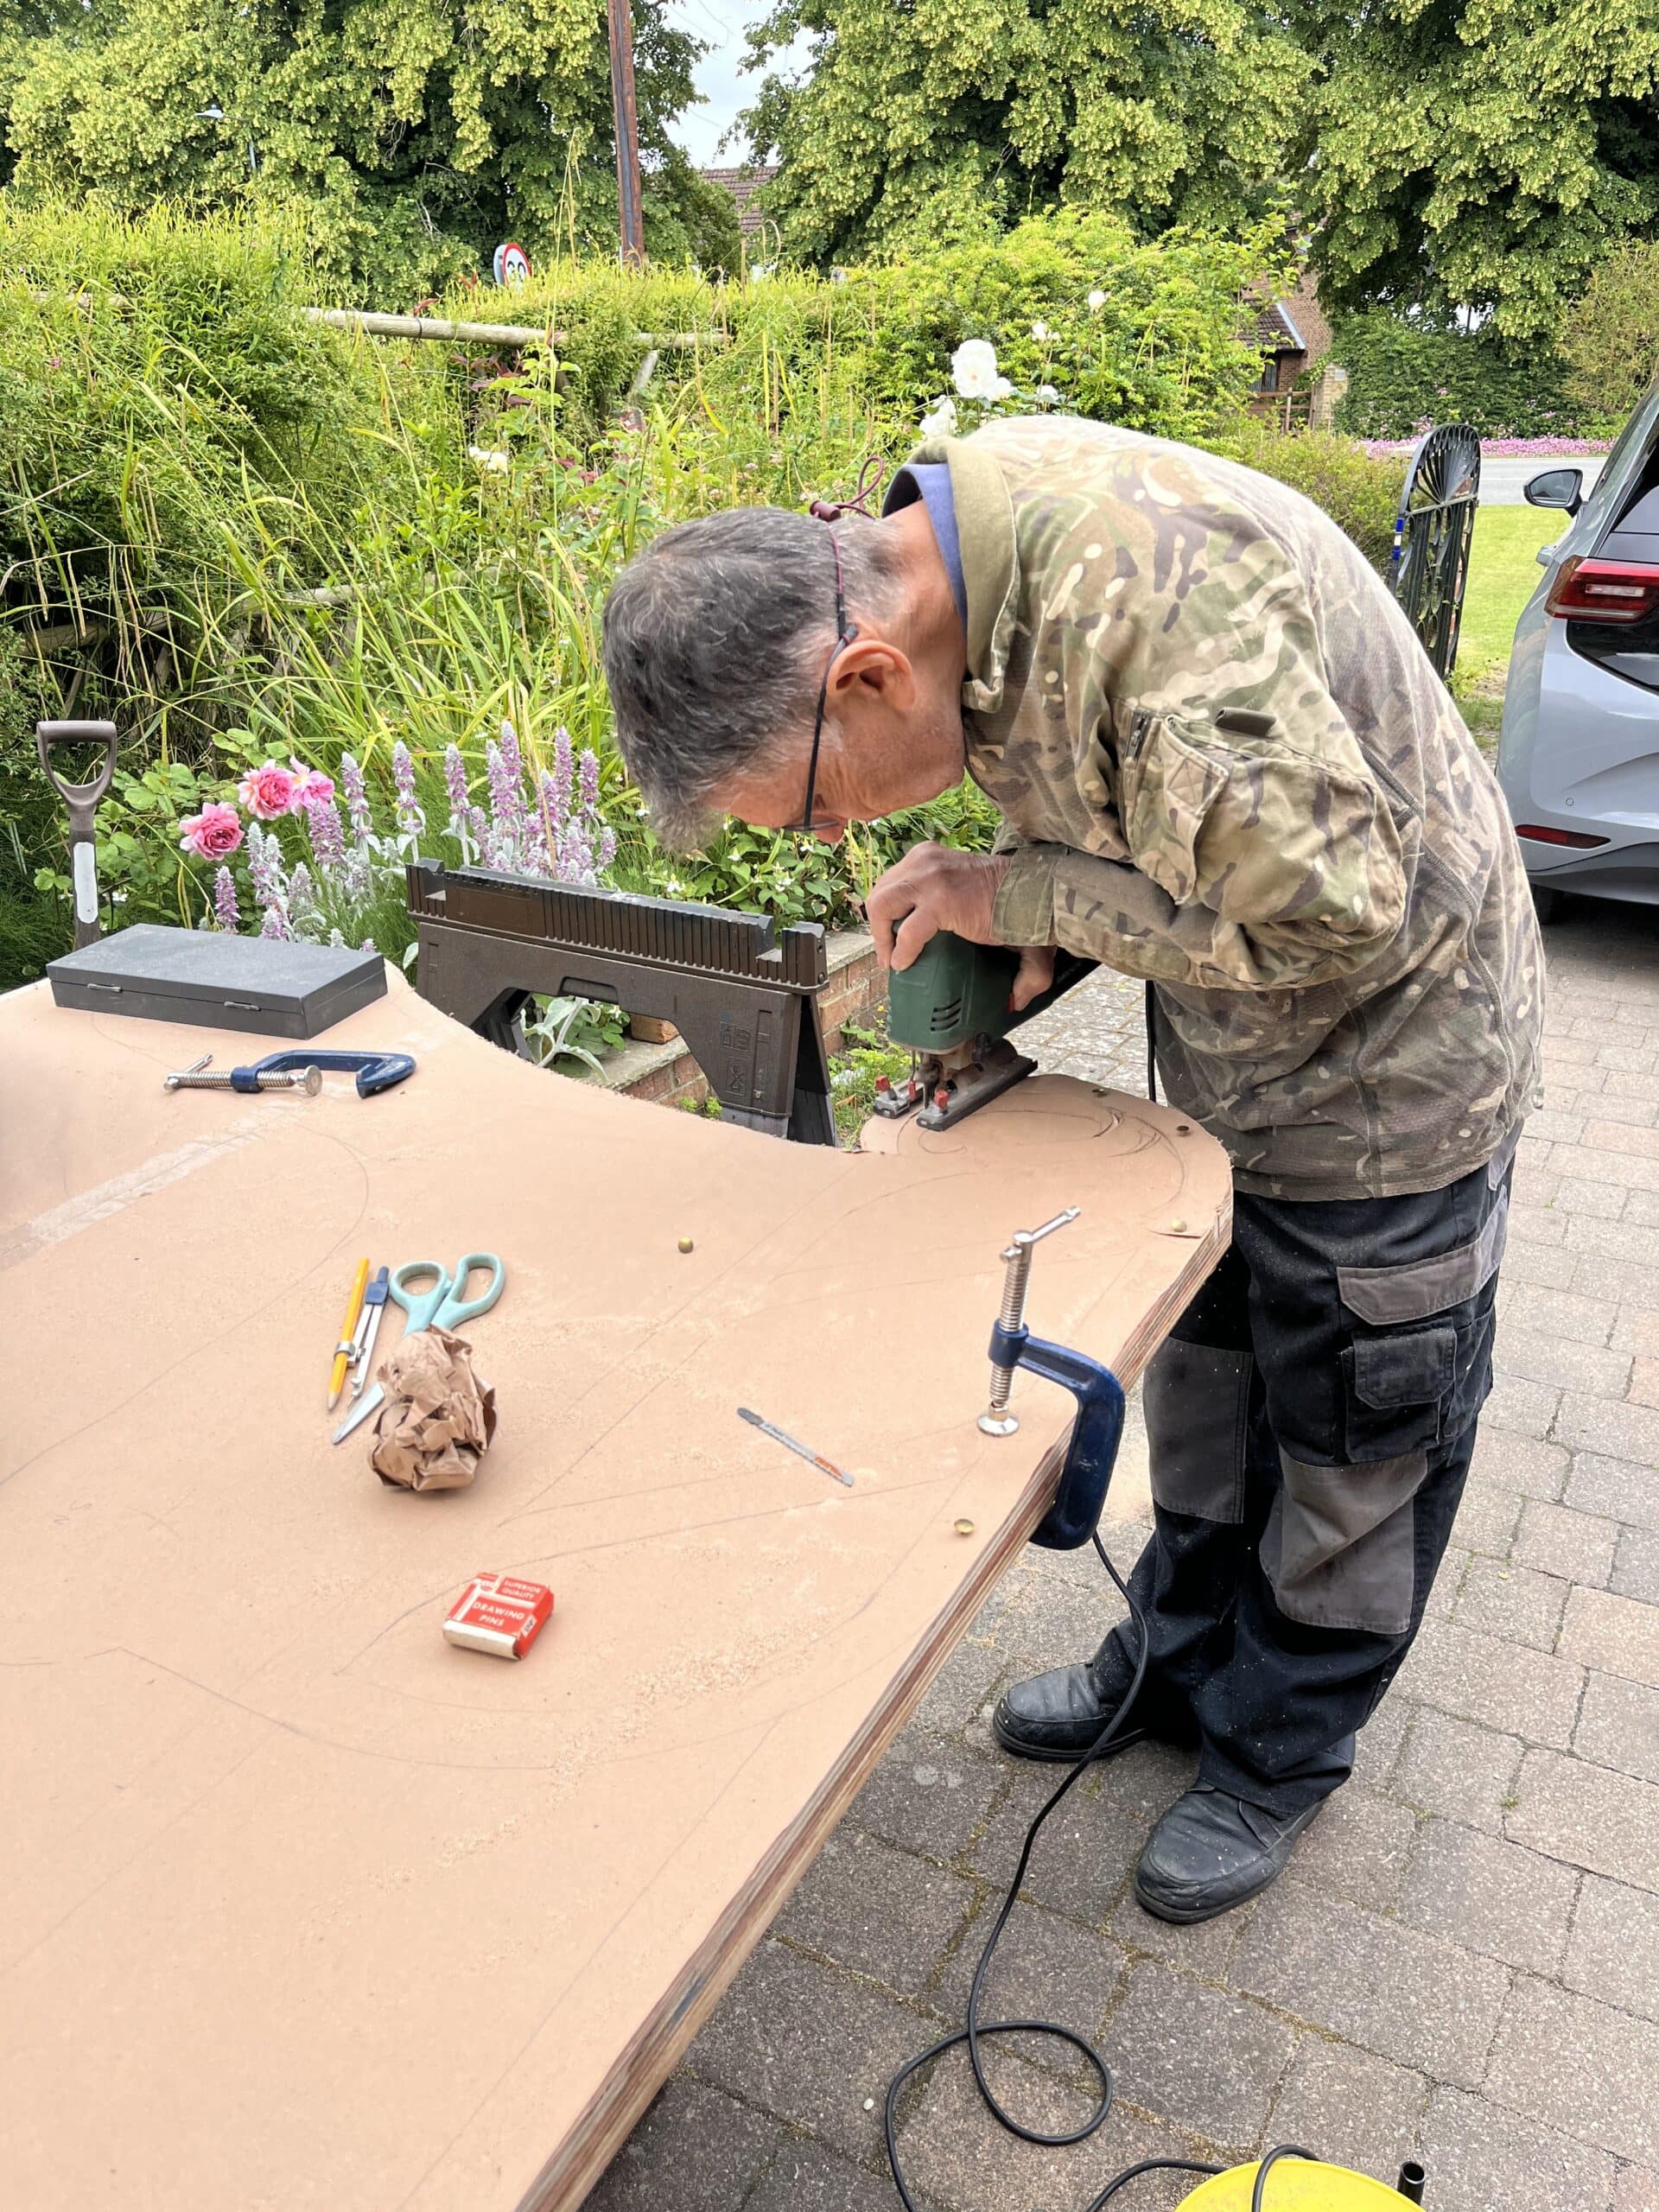
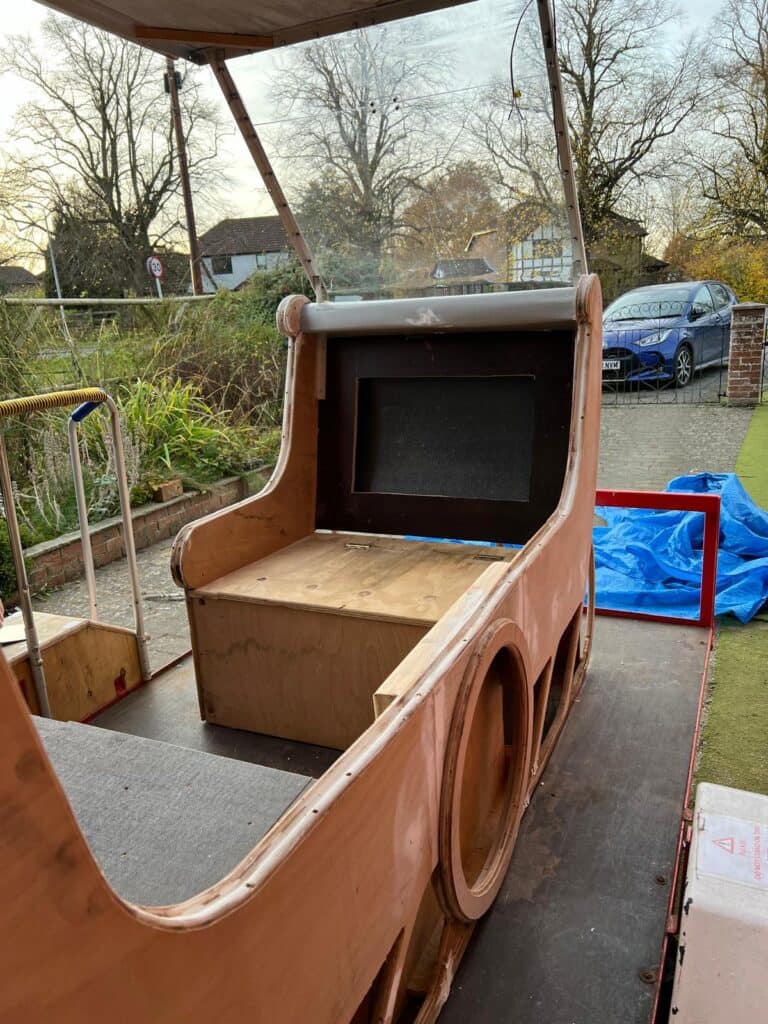
Safety, Function, Comfort and Ease of use were our main criteria. Lions Gary and Mike started to cut out the sides of the Sleigh to give it the look of a proper sleigh.
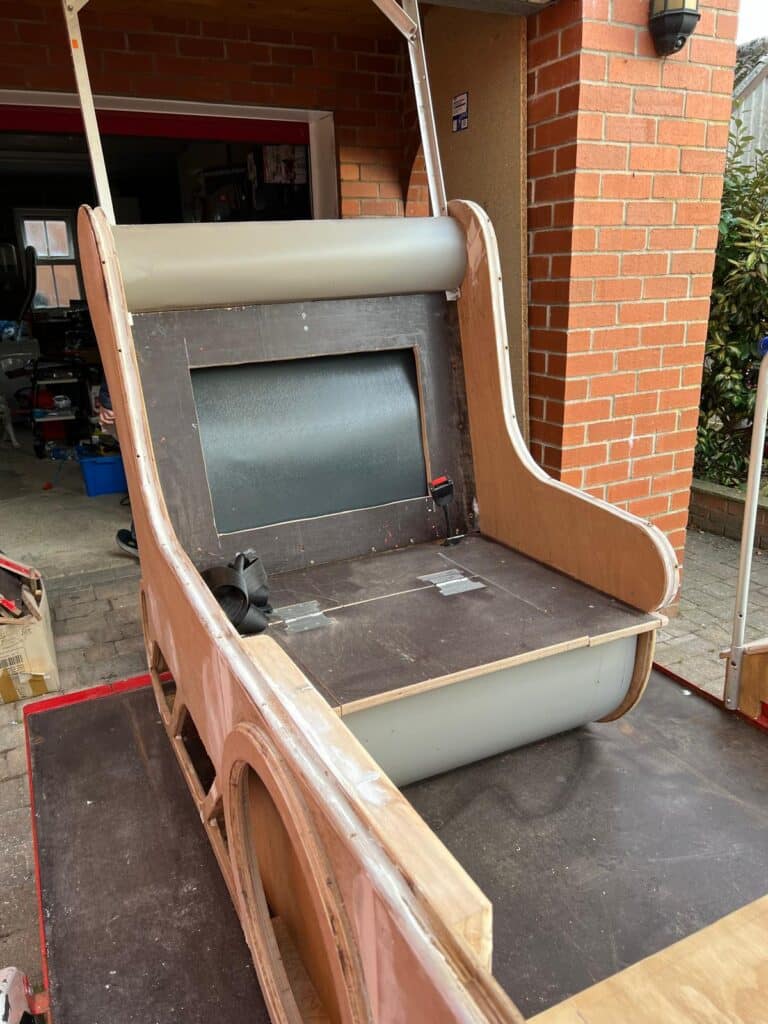
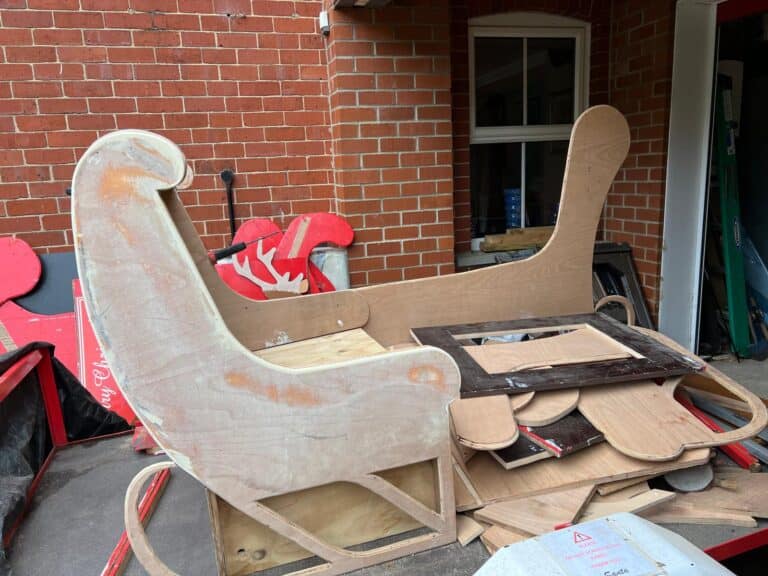
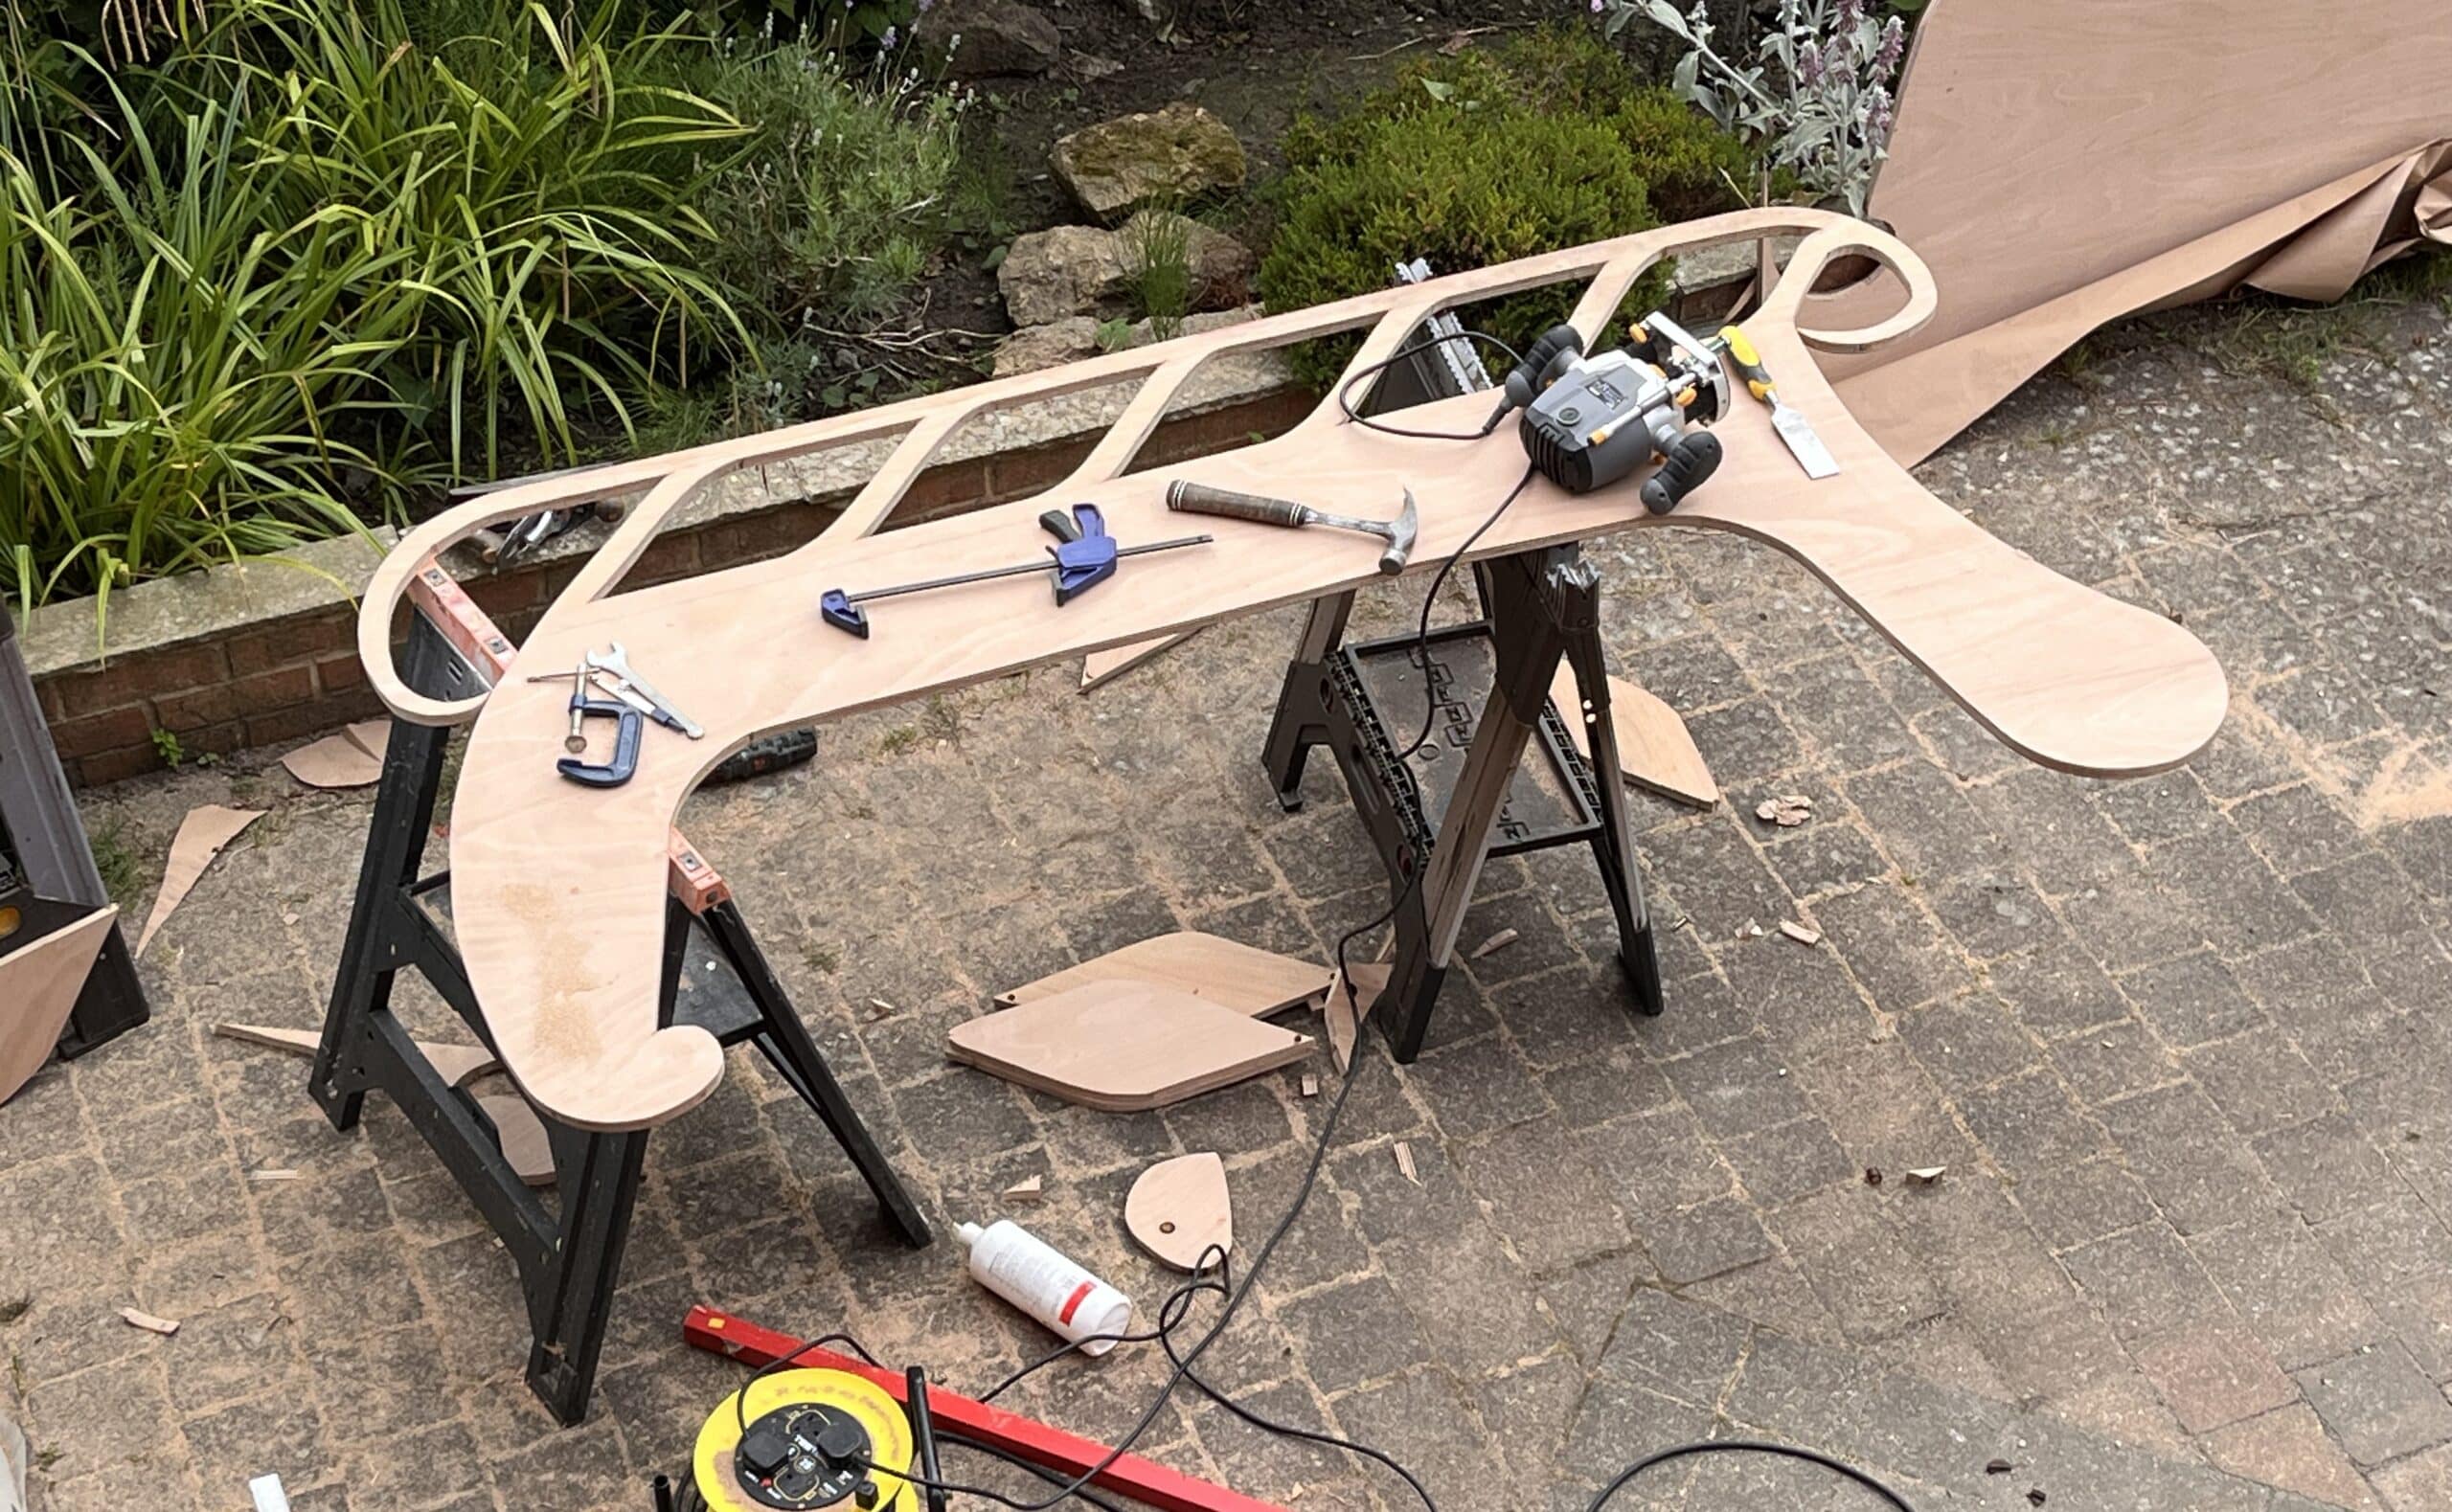
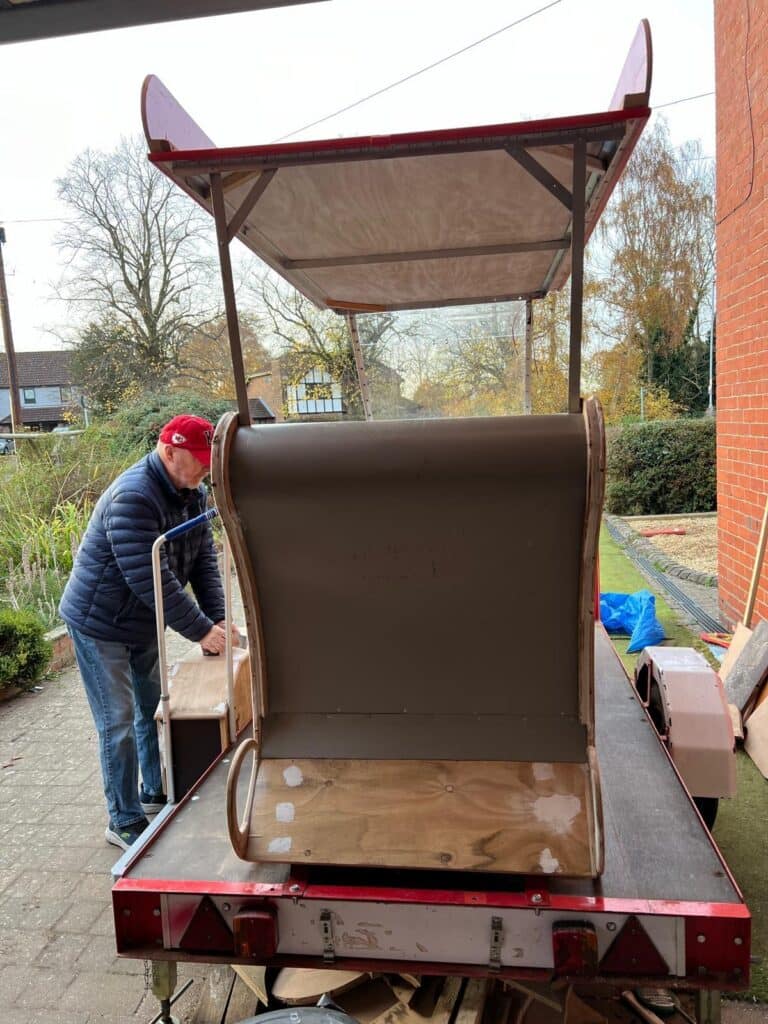
September Update: The Seating
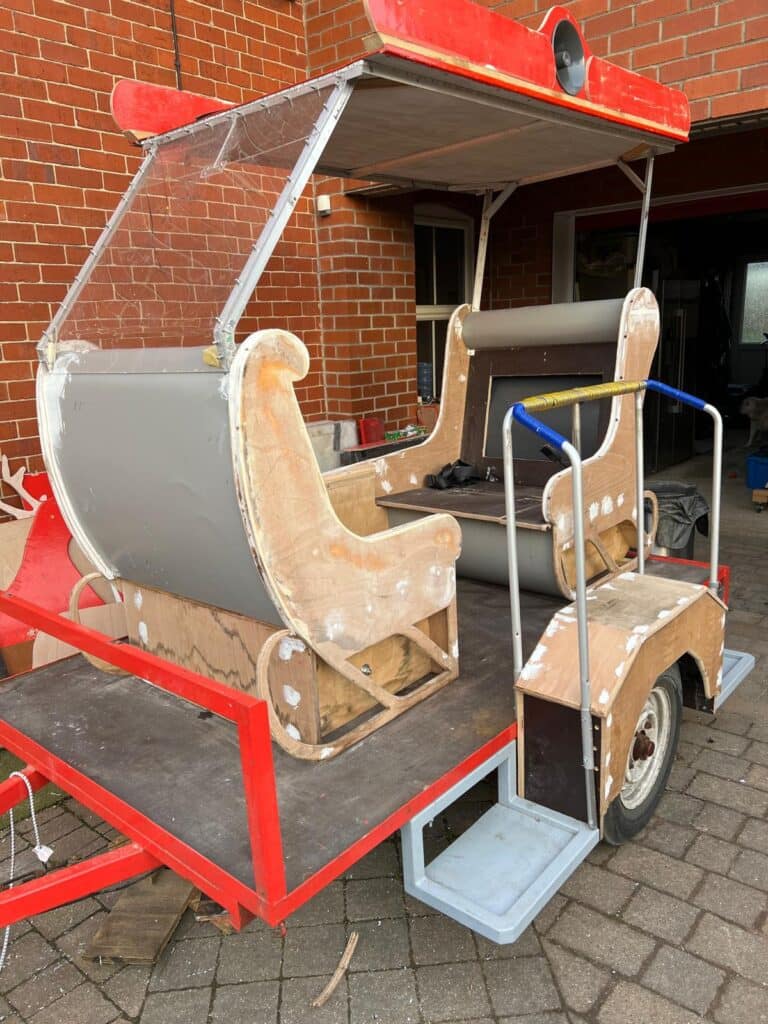
We were very lucky someone on Facebook had donated a red leather chesterfield chair and settee and it was from these I made the Santa and children’s seating.
I repaired or replaced worn parts of leather with good sections, cleaning and colouring the chairs in a fresh RED dye then coated with a sealant to protect it from the weather.
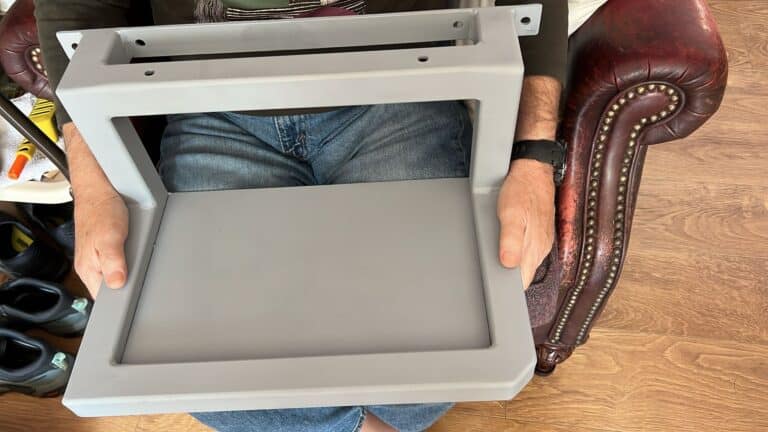
"The steel steps were expertly welded and painted by Adrian (friend of the Lions). A terrific job!"
The Transformation
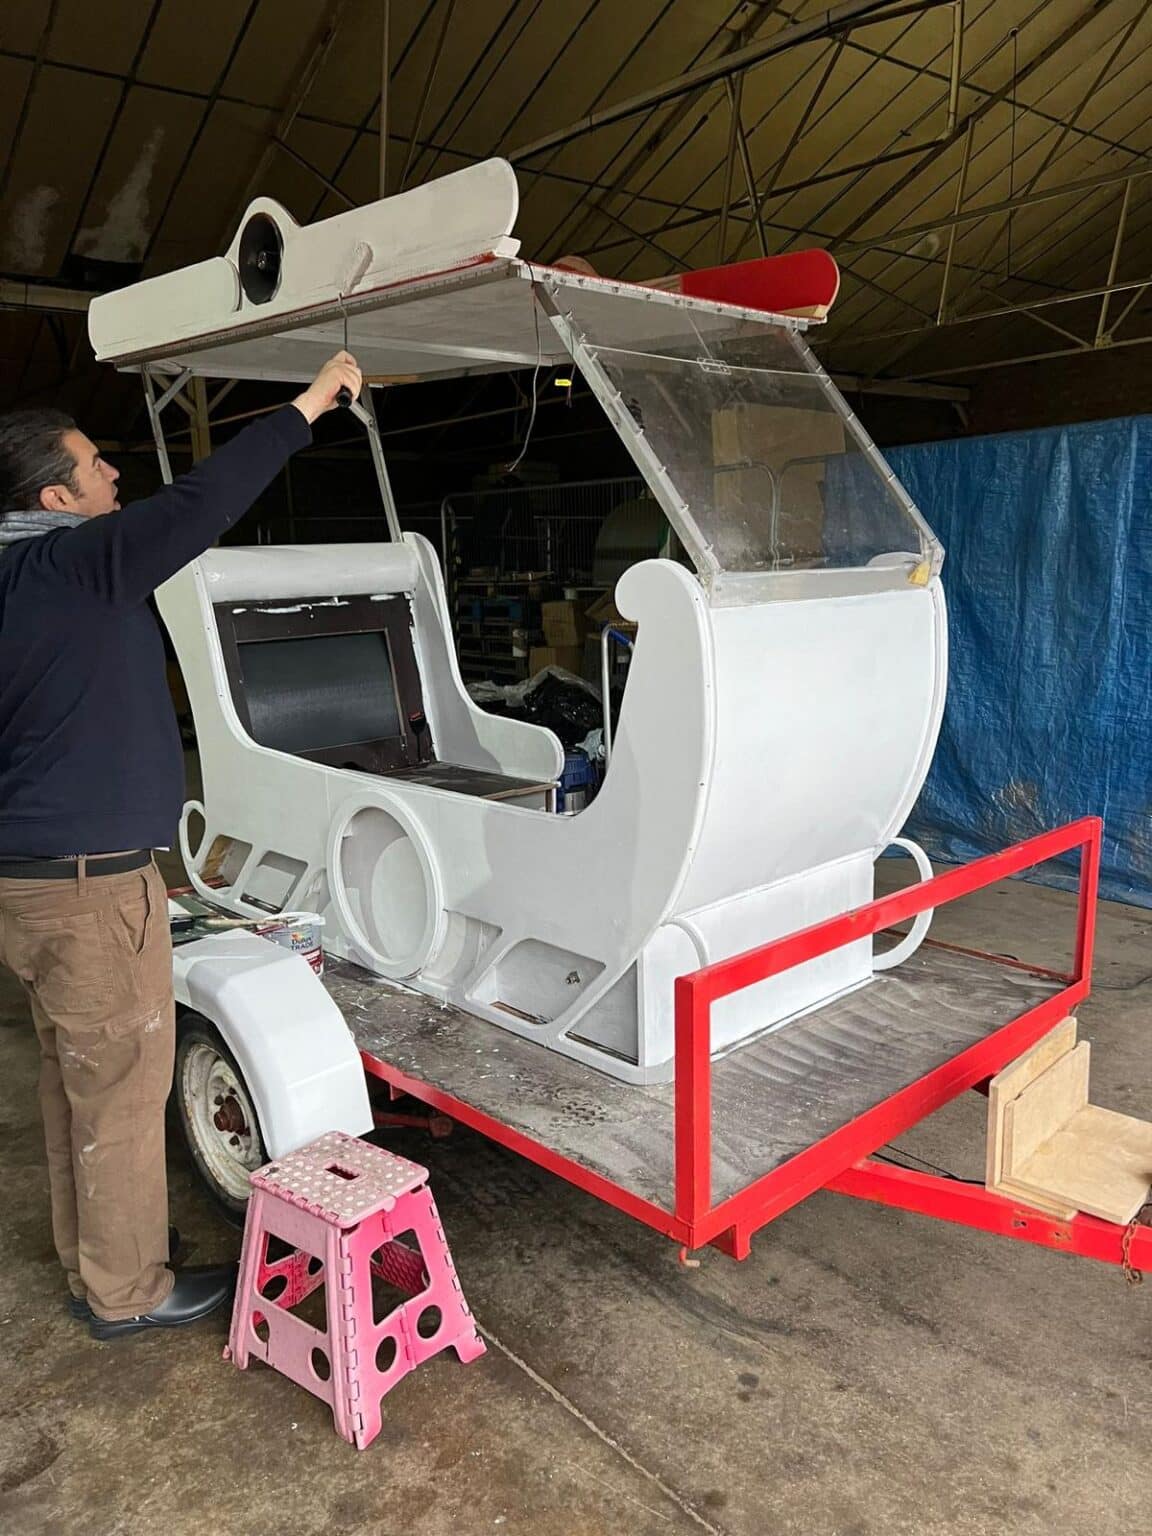 Stage 1: Undercoat
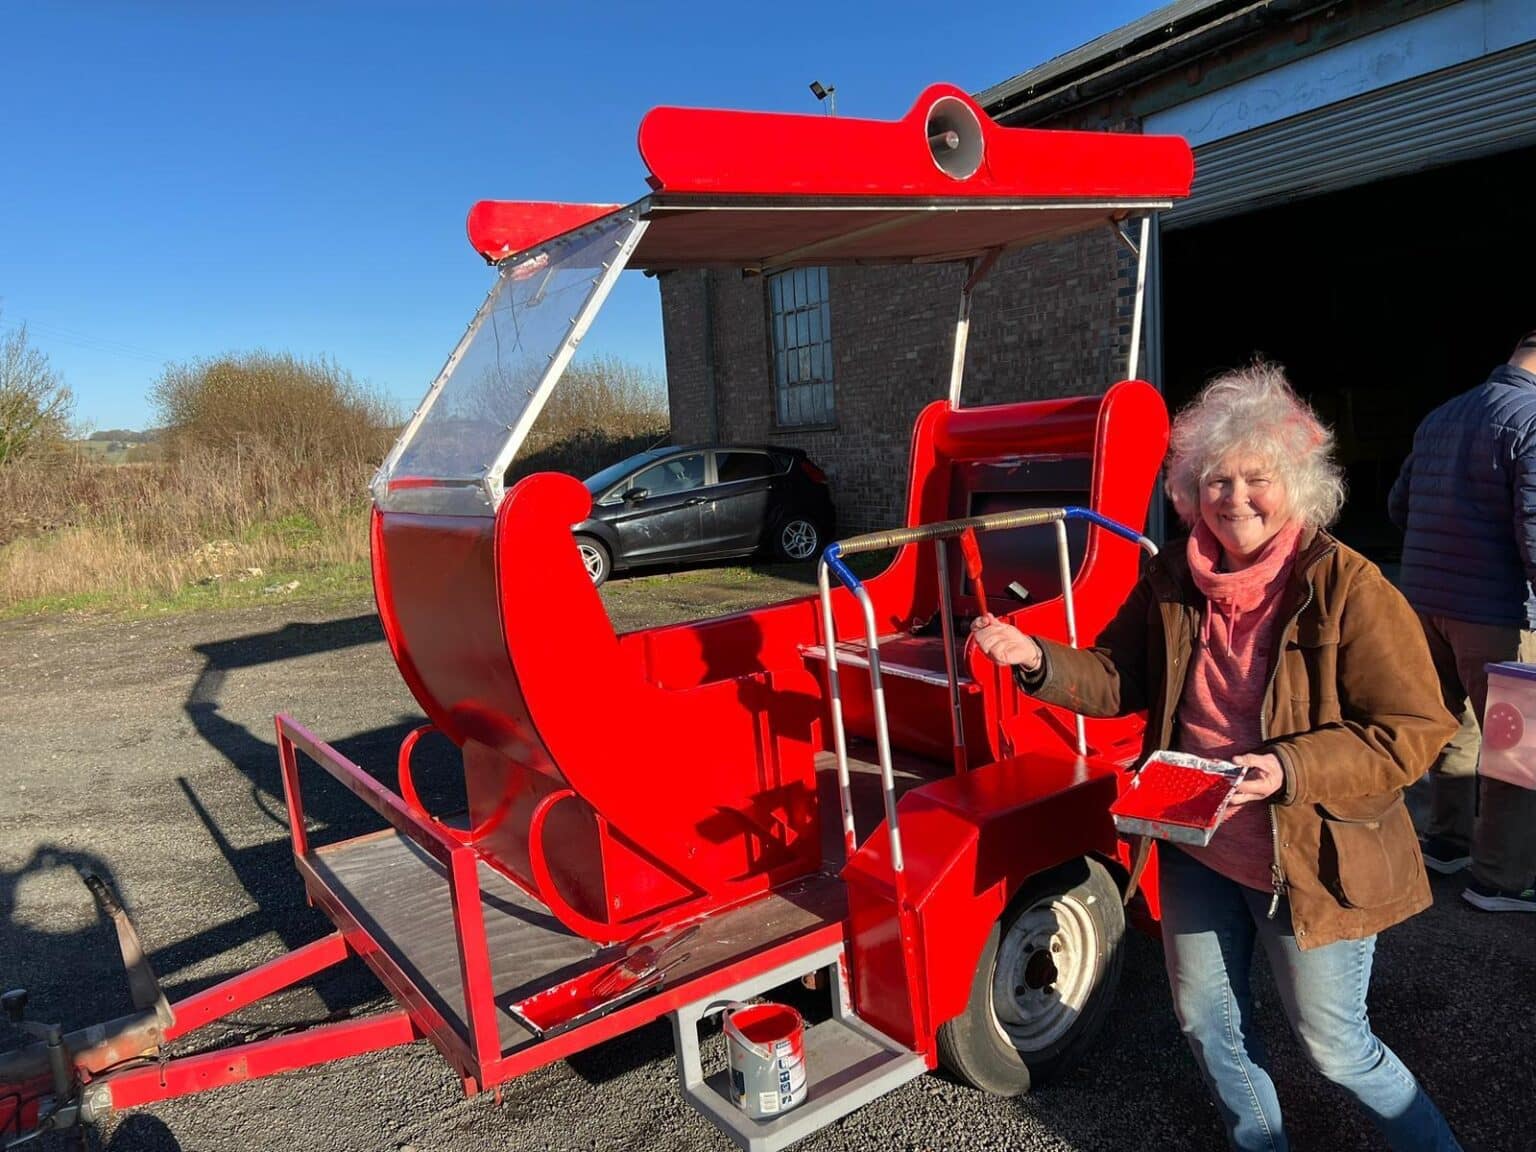 Stage 2: Bright Red Topcoat
While Santa is away on his holidays, he left instructions: Bright Red. Our team worked wonders in a short space of time, preparing the surface and applying the topcoat. It now looks like a real Santa Sleigh!
We haven't finished yet—there are a few surprises for Santa coming soon!